How To Assemble Your Scuba Diving Equipment - Easy Steps To Follow!
Correctly assembling your scuba diving equipment is a key component to being a confident, capable and safe diver. However, with most divers only being able to scuba dive a handful of times a year, it is a skill that is easily forgotten.
But don’t worry, we have you covered! With a video, an infographic and 17 easy steps to follow, here you will find everything that you need to know in order to safely and correctly assemble your scuba diving equipment!
For recreational scuba diving we have three main components to our equipment that we need to assemble:
- The BCD (buoyancy control device)
- The regulator
- The scuba diving cylinder
The BCD

The regulator

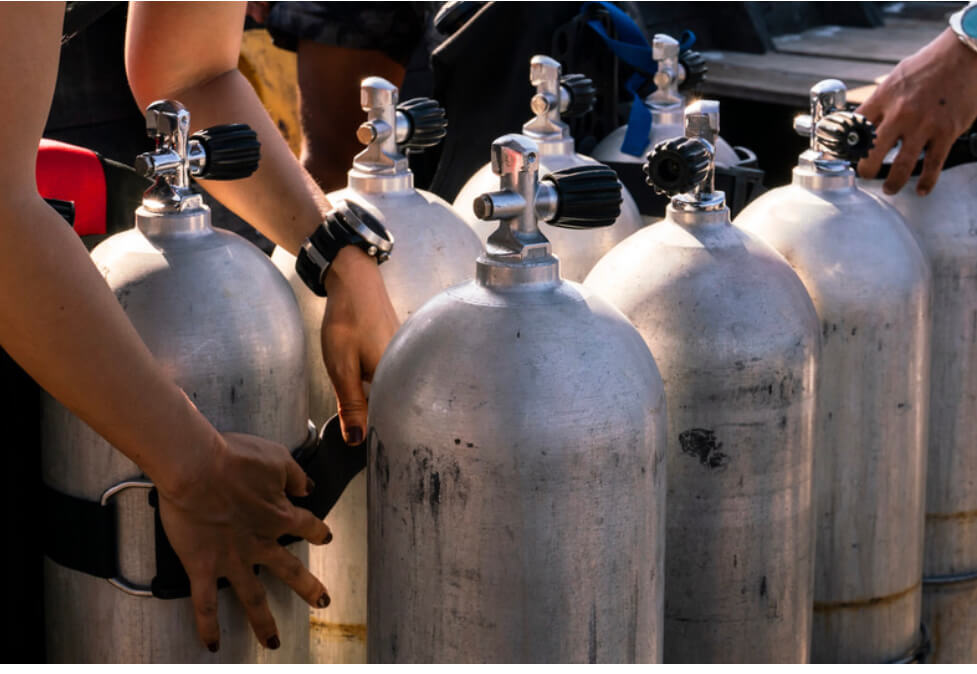
The Cylinder

Recent posts
The steps to assemble your scuba diving equipment:
Step 1:
Have your Scuba cylinder standing upwards on a hard, flat surface.
Step 2:
Check the valve of the cylinder to make sure there is no rust or corrosion. If the cylinder is equipped with a yoke valve, inspect the valve’s o-ring for signs of wear or cracks. Replace the o-ring if it is defective or missing.
Step 3:
Stand in front of your cylinder. The handle of the cylinder should be positioned to your left side. You will be able to see the opening of the valve where you will attach your regulator.
Step 4:
Stay in that position facing your cylinder and attach your BCD.
Use the straps which can be found at the back of the BCD (cylinder bands) and place these over the top of the cylinder. The valve handle should still be positioned to your left and the front of the BCD should be facing towards you.
- It is important to make sure that the BCD is positioned correctly.
- The handle at the top of the BCD should be in line with the base of the cylinder valve.
Step 5:
Tighten the cylinder band around the cylinder and fasten it by pulling over the buckle and snapping it closed.
- If you are using a steel cylinder the cylinder will need a net bag to make sure that the BCD doesn’t slip.
- If you are using an aluminium tank make sure to wet the cylinder band to create a grip.
Step 6:
Gently lift your BCD by the handle to make sure it is attached securely to the cylinder and not going to come loose when scuba diving.
Step 7:
Now is time to attach our regulator. Take your regulator and hold it by the first stage. On your left should be two hoses (the breathing apparatus) and on your right should be the other two hoses (your SPG and low-pressure inflator hose.)
Step 8:
Remove the dust cap from the first stage of your regulator. The dust cap prevents any water or dirt from entering the regulator.
Step 9:
Take the valve of your regulator and place this into the cylinder valve in such a manner that the valve of the regulator and the valve of the tank are aligned.
*Please note that for this guide I am using a DIN regulator, a Yoke regulator will be different when attaching it to your cylinder.
Step 10:
Gently tighten the screw in order to fix the first stage to the cylinder firmly. Make sure you do not over-tighten the screw, just until the first stage does not move.
Step 11:
Attach your low-pressure inflator hose to your BCD’s low inflator valve.
Step 12:
Hold the SPG away from you, we like to hold it with the glass facing the BCD and open the cylinder. Do this by gently turning the tank knob counterclockwise until it does not turn anymore. Take a look at your SPG, the needle should have moved to indicate the amount of air in your tank.
Step 13:
Now we want to check that our scuba diving equipment is working correctly.
First, let’s check the quality of our air! Press the purge button on your second stage and smell the air. The air should smell fresh and clean. If the air smells of petrol or rotten eggs, do not use the cylinder and report this to the dive center that filled your cylinder.
Step 14:
Now let’s test that the BCD is inflating and deflating correctly. Fill your BCD using your manual inflator hose and then deflate your BCD using the slow release dump valve. Then continue this process by testing the top and bottom dump valve.
Step 15:
Now take a couple of breaths from your second stage and Octopus. Make sure to keep an eye on your SPG while doing this. When you are breathing from your regulator, the needle on your SPG should be holding steady and should not move.
Step 16:
The final step is to place the regulator’s hoses in their correct position.
- The SPG should be placed through the back pocket and out the front of the SPG holder.
- The Octopus should be placed into the Octopus holder or some BCD’s may have a specific clip to hold the Octopus or SPG.
- You can make sure that any scuba diving accessories such as your SMB or whistle are tucked away and your equipment is streamlined.
Step 17:
Finally, you can slowly lie your cylinder on the floor to prevent any accidents from the cylinder falling over, damaging the equipment or injuring yourself

Author: Sophie Keningale
Sophie Keningale works hard to share her passion for scuba diving through her blog posts and hopes to offer useful information for scuba divers and those holidaying in Gran Canaria. Sophie owns and operates Leagues Ahead Diving with her partner James and the center has been open since 2017.


